How large-format oil paintings are created – a look behind the scenes
Large-format oil paintings fascinate with their impact and expressiveness. But how is a work of art like this created? In this blog post, I take you on a journey behind the scenes of my creative process – from the initial inspiration to the final brushstroke.
Inspiration – The beginning of every work of art
It always starts with inspiration. I often find this in the nature around Lake Constance, a region full of colors and moods. The tranquillity of the water, the play of light at sunrise and sunset or the shapes of plants and animals – all of this flows into my art. Emotions or moments of reflection also serve as my starting point.
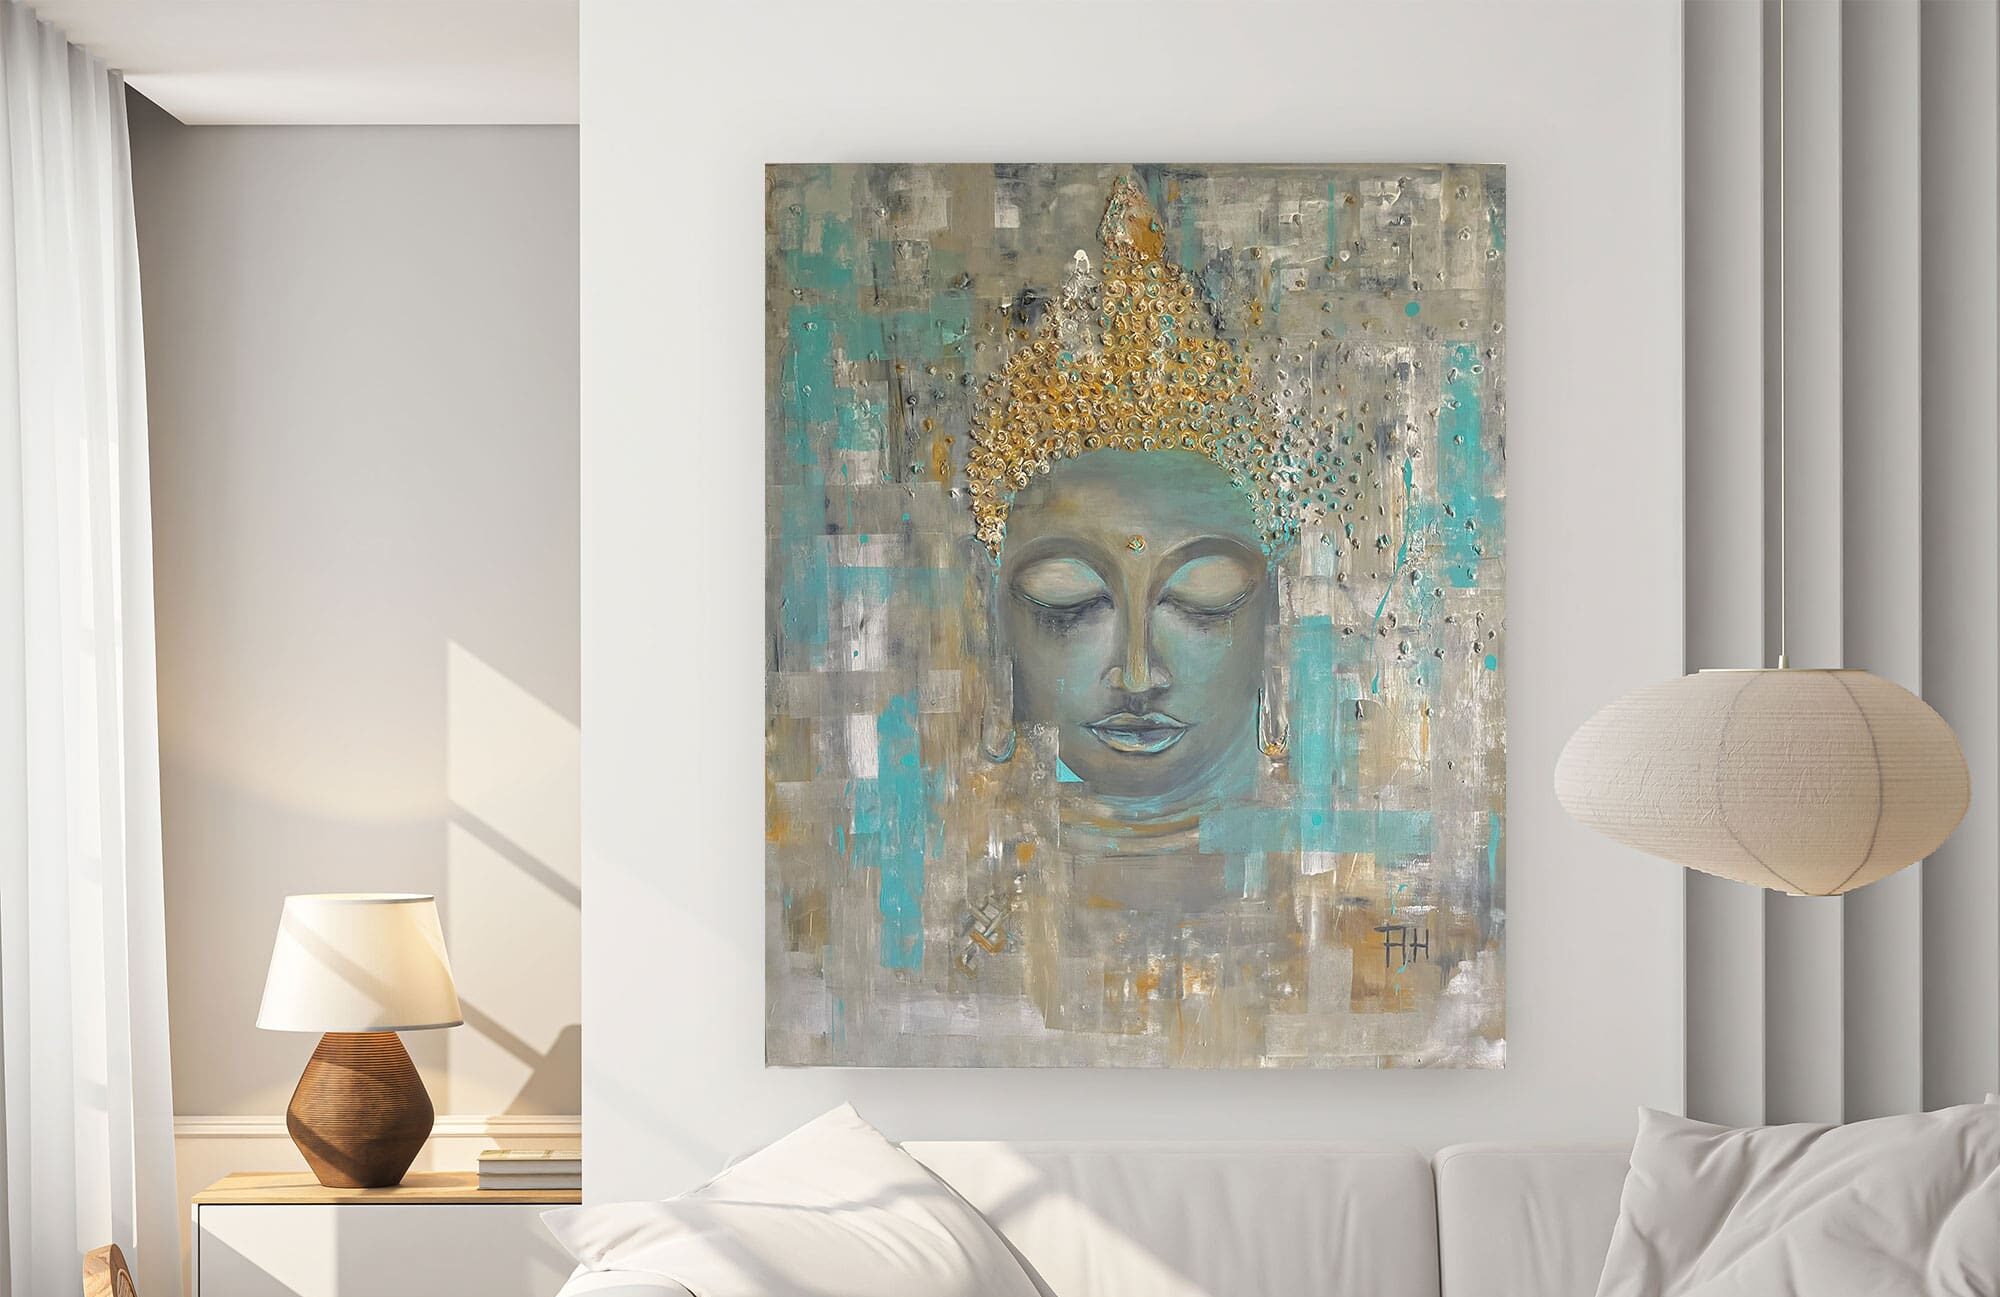
Sometimes I am inspired by a particular motif, such as a Buddha, a deer or an abstract idea. My aim is to tell a story with each work that captivates the viewer.
Sketches and planning – The creative design
After the initial idea, I create sketches to plan the composition and the effect of the later painting. This preparatory work is particularly important for large-format works, as proportions and balance play a central role here.
I decide which colors should dominate and how I combine different elements to create harmony or contrasts. This step is a playful phase in which I try out many variations.
The canvas – the basis for large-format art
Large-format oil paintings require a stable and high-quality canvas. I stretch the canvas myself on a wooden frame or buy it ready-made in certain stores and prime it carefully. This preparation ensures that the colors later adhere optimally and develop their full luminosity.
The painting process – from priming to finishing
1. primer and first coats of paint
I start with a colored primer that gives the painting depth. I often use acrylic paints for this, as they dry quickly and create a good base.
2. the first details
I work my way forward step by step with oil paints. The advantage of oil lies in the long drying time, which allows colors to be blended gently and layers to be applied on top of each other. This is where the first contours, light and shadow effects and the basic structure of the picture are created.
3. fine-tuning and setting accents
In this phase, I focus on the details. Fine lines, shading and textures bring the painting to life. I experiment with different brushes, palette knives and creative techniques to achieve unique effects.
4. the final steps
After many hours of work, the moment arrives when I feel that the work is complete. I look at the picture from a distance to make sure that all the elements harmonize and the desired effect is achieved.